How to polish & remove scratches out of glass?

How To Polish Scratches Out Of Glass - Expert Guide
How do you do it?
This is a generic step-by-step instruction guide suitable for a range of glass polishing kits. It is always a good idea to cross-reference instructions from 2 or 3 sources to get a better understanding of the concept
First of all, you need a DIY Glass Polishing Kit. If you are not sure which one to get, check our guide here. You also need a power drill or polishing machine (depending on the kit)
Use of water/Use of heat Some kits are designed to be used dry, others wet. In both cases, heat is a crucial factor. If the glass you are repairing is not toughened/tempered, it is very important to avoid generating too much heat. A carefully controlled water flow will keep the glass warm enough to cool and reduce the chance of breakage. If it is a dry system, you can control heat with increasing or reducing pressure on the glass. You can also control it by allowing time to cool the glass.
Cleanliness, cleanliness, cleanliness. Most kits utilizes a sequence of progressively finer grades of abrasives. Contamination from abrasive particles left from previous grades can cause micro-scratches only visible after the final polishing stage. This results in having to start again from the beginning and is really frustrating. Cleanliness is the key to scratch prevention.
A few more notes on preventing scratching by the abrasives. Keep tools and your work area clean. When not in use, set your machine down in such a way that dirt is not picked up on the working surface. Between each abrasive step, use plenty of water from the spray bottle together with soft paper towels to thoroughly remove any residue and loose particles left on the glass surface. Use a clean paper towel each time.
Step 1 - Get your tools ready
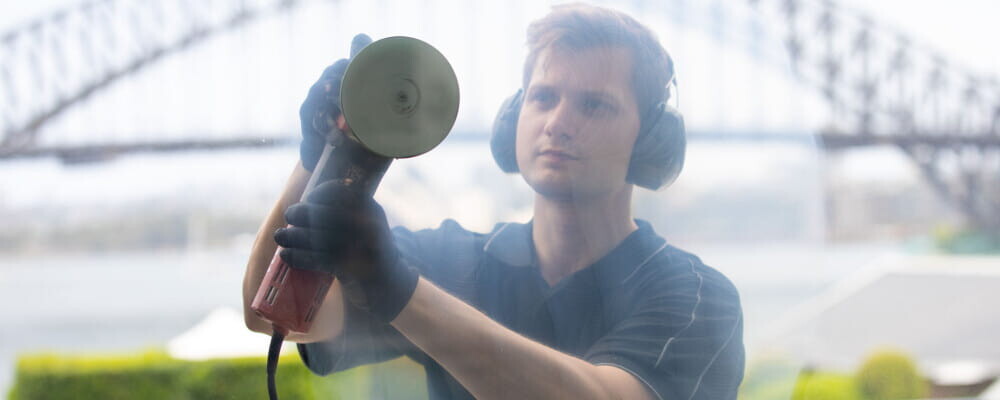
Step 2 - Start the cutting process
With the drill or polisher running at approximately 1500 RPM, gently place the running disk flat on to the glass surface. Apply firm, even pressure. Cutting should be done with small overlapping strokes, not stopping the cut in the same place every time you change direction. Imagine your damaged area is a box.. So try to stop just before on one stroke and just after on the next. This process is called feathering. Do not dwell in one area, but keep moving evenly over the glass.
Step 3 – Check Progress
Wipe the residue from the glass and inspect it to determine if the glass scratch has been removed or “Bottomed Out”. If part of the original scratch is still visible, repeat steps 2 and 3, if not go to step 4.
Step 4 - Scratch Refining
Remove any residue and loose particles from the entire glass surface. Repeat the previous process using the next finer of abrasive Remember to overlap your previous work area slightly using the feathering technique described earlier. When you think that the scratches from the previous grade have been refined, continue for another 15 to 20 passes as above.
Step 5 – Check Progress
Wipe the surface clean and inspect it.. The damaged area should now have an even appearance with no discernible scratches from the previous process remaining. This may be a little difficult to determine for an inexperienced glass polisher, that’s why it is advisable to continue for another 15-10 passes to make sure they are all gone.
Step 6 - Further Refining
Follow the same process as in step 4 and 5, except use the next finer grade disc. Remember the cleanup between stages and remember to overlap your previous work area slightly using the feathering technique described earlier. When you think that the scratches from the previous grade have been sufficiently refined (removed), continue for another 15 to 20 passes as above.
Step 7– Check Progress (again!)
Wipe the surface clean and inspect it.. The damaged area should now have a hazy or cloudy appearance with no discernible scratches remaining. If you can still see fine scratches, repeat step 6 and 7, otherwise go to step 8. You are now ready to start the final polishing stage.
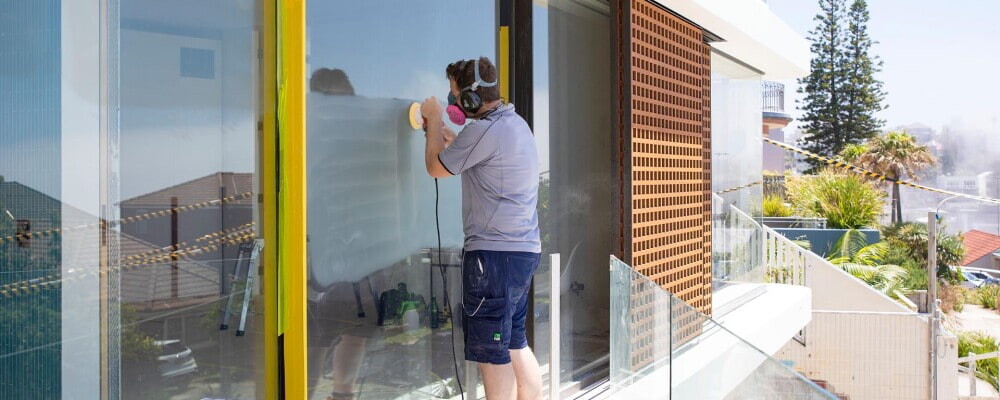
Step 8 – The Polishing Stage
Thoroughly clean the glass surface with water and paper towels as in the previous steps to ensure that all dust and stray particles have been removed. Attach the rayon of felt pad to the machine via suitable backing pad. Apply no more than a half teaspoon of polishing compound to the felt pad. With the machine still switched off, place the pad on the glass, keeping the face flat against the surface. Now switch on the drill or polisher and begin polishing, moving in a clockwise circular motion, working from the outside in, i.e. do not leave the fringe areas to polish last. After a few seconds of polishing, a milky looking slurry will form. Continue polishing until the slurry is almost dry. Every time it is about to turn to powder, spray the surface with more water.
Add more water while the pad is still in contact with the glass and polish until the slurry is dry again. Repeat this process as many times as necessary until the glass is visually clear. (Usually between 3 and 5 times.)
Step 10 – Check Progress
Remove all residues that remain from the polishing process. Wipe the surface clean and inspect carefully, preferably in full sunlight. The glass surface should now be free from scratches and crystal clear. If some haziness remains, repeat steps 8 and 9.
All Done!
We are your local glass repair professionals!